
Are you on the fence about Participatory Design? Considering conducting a PD session? Maybe merely unsure of what they are, exactly? Take your worry hat off and read on!
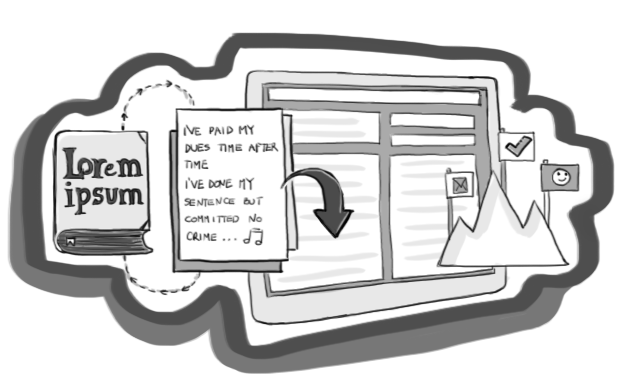
How do you create the perfect pitch for your new product or service? With a bunch of screens filled with Lorem ipsum? We don’t think so!
Internet is no longer rational space. After all - as a species - we are often driven by emotions. So, what is designing for emotions and how can you do it? We list some ideas.
What skills do you need to have or search for (if you are someone employing a UX designer)? We offer practical guidance and perspectives.
News
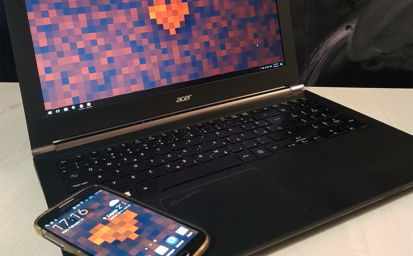
A wallpaper pack for your desktop & mobile.
Valentine's day is all about sharing with those you care about, and that's why this year we decided to create something beautiful for our readers.
Read more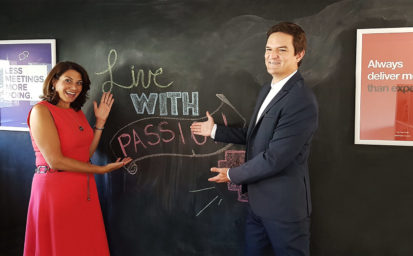
US Ambassador to Croatia visits UX Passion
Last week we had an honor of hosting US Ambassador to Croatia, Julieta Valls Noyes, during her visit to our office in Zagreb.
Read more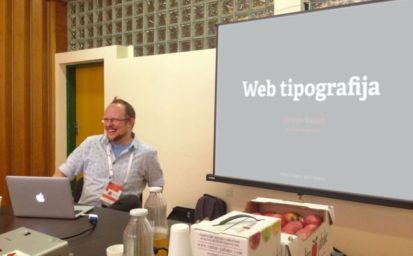
UX Passion at KulenDayz – an utterly delicious IT conference!
Last weekend our visual designer, Hrvoje Bielen, was one of the speakers at KulenDayz – a truly one of a kind IT innovation conference.
Read more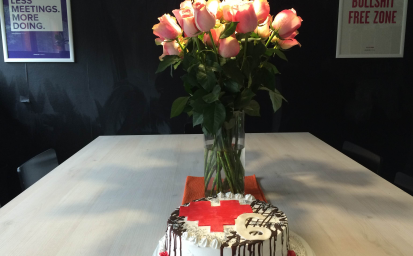
Six years and counting! Looking back - and into the future
We are celebrating our 6th birthday. What started as an idea and a blog is today 11 people strong agency with clients in over 100 countries worldwide.
Read more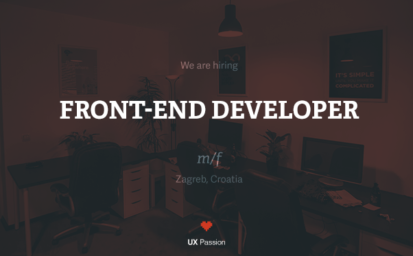
We are hiring! Looking for a Front-End Developer (m/f)
The UX Passion team is ready to grow yet again and this time we are looking for a front-end developer to join our team in Zagreb. Think you've got what it takes? Reach out to us and let's find out together!
Read more
Here is why you should do UX testing outside the target field
Depending on the product you are developing, sometimes it makes more sense to test outside the target demographic than it does focusing on a niche audience. Our guest author explains why.
Read more
Why typography is crucial for enhancing UX
Learn why typography plays an important role in the overall design of websites and apps and why good typography will make your design pop - while bad typography will be the downfall of its usability.
Read more
CEO on support: A greatest reality check
Putting your CEO on support - to answer emails and calls - is the ultimate reality and business sanity check. Don't miss the opportunity to learn from your customers, who are the lifeline of both your brand and your business.
Read moreVideos
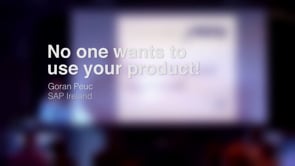
WIAD 2014 Talk: No one wants to use your product! (Goran Peuc)
A quick reality check telling you that people seriously do not want to use your digital and even physical product, no matter how good it is, and what to do about it.
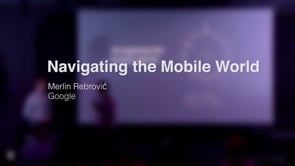
WIAD 2014 Talk: Navigating the Mobile World (Merlin Rebrović)
The screen we look at the most is palm sized. The amount of information around us is growing exponentially and displaying it on such a small area is becoming a challenge.
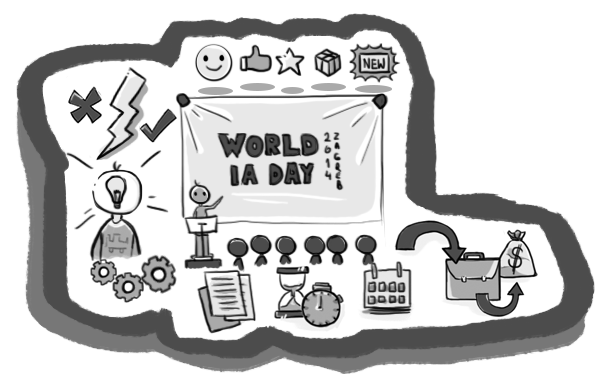
WIAD 2014 @ Zagreb, Croatia (teaser)
We’ve celebrated World Information Architecture Day on February 15th. This was the third time that WIAD was marked worldwide but for the first time, UX Passion did it in Zagreb.
UX Apocalypse - Touch. Inspire. Influence.
We mingled as the world was supposed to end. It is often said that the end is near and it has never been more so than during the 2012.